
How To Use The ‘Save Search’ Feature in DISCO To Save Time
Amongst many other benefits, DISCO is your one-stop platform for all your licensed content needs. DISCO is the Amazon.com for licensed content.
The platform has multiple features, tools and search technologies to streamline editorial processes where the use of licensed content is concerned.
And once you easily become a savvy searcher, many of the searches you build may require what appear to be complex Boolean Expressions, combined with multiple filters in order to yield relevant and accurate results.
Therefore, one of the most useful platform features is the ‘Saved Search’ tool, which is guaranteed to save you (and your team) time, by instantly loading a search, meaning you get to the content you need, quickly.
Because let’s face it, you don’t want to have to remember complex Boolean Expressions, combined with multiple filters each time you are looking for fresh content on a topic you are tracking. And neither do you want to spend the time building these complex searches regularly.
Once you have created a search that works for you, if you intend to use this search again, or even regularly, set up a Saved Search to save time. And you can always tweak the saved search at any time where needed.
DISCO supports an unlimited number of Saved Searches within each user account.
How To Set Up A ‘Saved Search’ In DISCO
1. Perform a search
2. If you are happy with the results of the search, click on the ‘Save This Search’ link.
3. Give your Saved Search a reference name and then hit ‘Save’
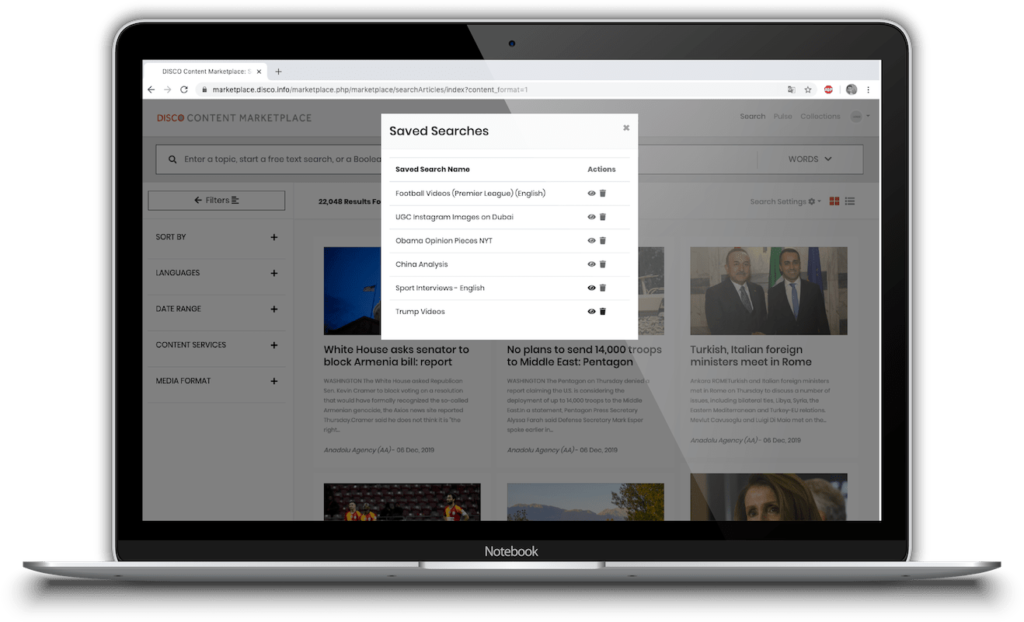
How To View or Load Your ‘Saved Searches’ in DISCO
1. Click on the ‘Saved Searches’ link
2. Click on the little eye-shaped icon next to the Saved Search you wish to load.
How To Edit A ‘Saved Search’ in DISCO
1. Click on the ‘Saved Searches’ link
2. Click on the little eye-shaped icon next to the Saved Search you wish to load and then edit
3. Tweak or edit the search.
3. Click on the ‘Save This Search’ link and select the same Saved Search name to override the old search query.
How To Delete A ‘Saved Search’ in DISCO
1. Click on the ‘Saved Searches’ link
2. Click on the little trash can shaped icon next to the Saved Search you wish to delete
Want to learn more about DISCO? Read the full How-To series here.
Want to stay updated with the latest content marketing insights from DISCO’s content experts? Subscribe to our email list here.
Feature image via Shutterstock


